Before you start editing your footage, make sure you have stitched your footage. You can read our guide to stitching here.
After you have completed stitching your footage, you can now “edit” them in traditional video editing software like Adobe Premiere Pro CC. Stitching is a common term that involves merging the separate camera inputs into single viewable format. On the other hand, editing is a broad umbrella term that we will use to refer to the post-production that occurs after stitching. This will include trimming the clips, adding multimedia elements, and more. While other editing software supports 360 video, this article will focus solely on the editing workflow in Adobe Premiere Pro CC.
Step 1
Enable VR in Sequence Settings
You can import your 360 footage into Premiere like you would any regular video. While Premiere has automatic VR property detection when importing media, here are the steps for manually enabling VR in sequence settings.
- Go to the menu and select
Sequence > Sequence Settings - At the bottom of the dialog box will be a
VR Propertiessection![]()
- Enable VR on your sequence by choosing a projection. Currently, Premiere Pro only supports a single projection format:
Equirectangular.![]()
- Next choose the layout based on the type of camera and footage you shot. This can either be
Monoscopic, Stereoscopic - Over/Under,orStereoscopic - Side by Side. The sequence can only support one type of footage at a time. Read on for an explanation of these differences.![]()
- The Horizontal and Vertical Captured View fields allow you to specify how many degrees of view are actually contained in a full frame. Most often, the default of 360 degrees horizontal by 180 degrees of vertical is what you want – a full sphere.
- Hit OK to save your changes, and you should now be able to use the VR Video display with your sequence.


What is Equirectangular Projection?
Imagine a map of the earth: It is a flat representation of a spherical globe. Equirectangular projection simply unwraps the sphere, mapping the longitude to the X coordinate, and the latitude to the Y.

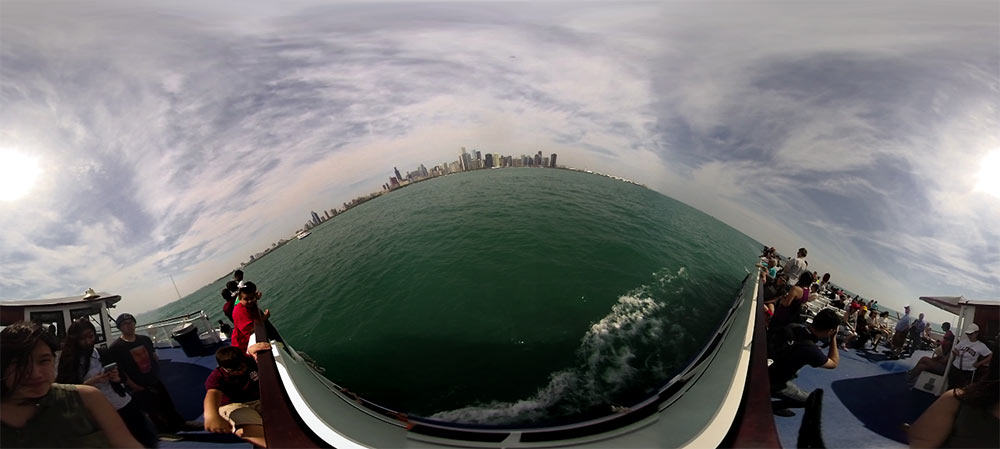
Similarly, equirectangular footage is a common format for 360 video that allows it to wrap into an immersive sphere. While flat, it can look like a distorted panorama. Your raw stitched footage will be equirectangular, but you can toggle between the equirectangular or VR views while editing in Premiere.
Monoscopic vs. Stereoscopic Video
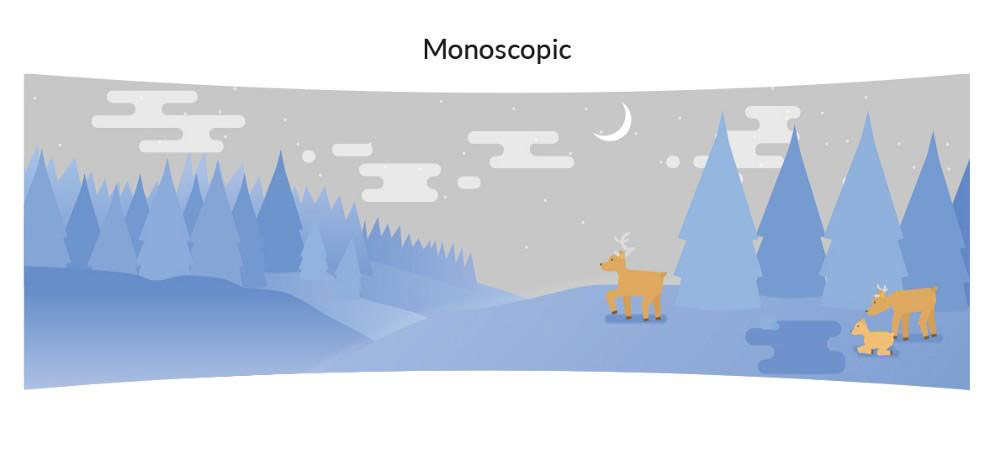
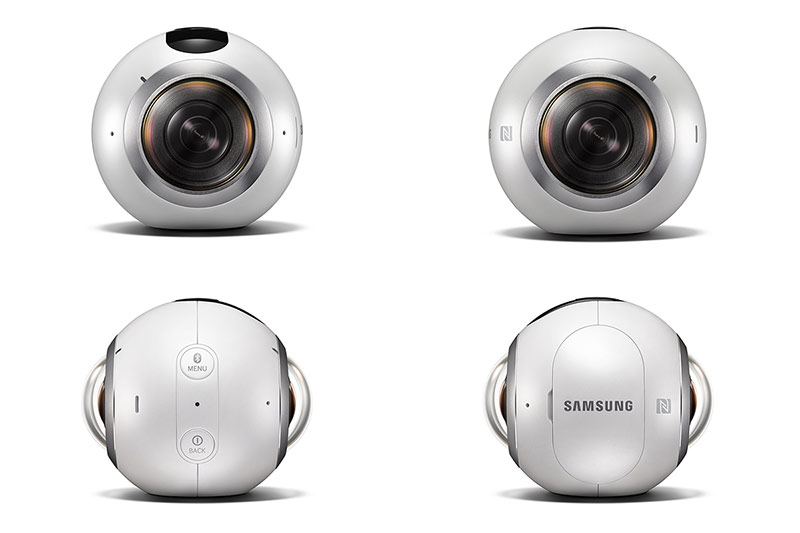
A monoscopic 360 video is just a flat equirectangular video displayed on a sphere. These are filmed with cameras such as the Samsung Gear 360 or the GoPro Omni. Regardless of the total number of cameras, each angle is filmed with one camera lens and then stitched together to form the 360 view.


In contrast, a stereoscopic video adds depth between the foreground and background. These are filmed with cameras such as the Humaneyes Vuze. It films each angle with two camera lenses side by side, similar to how each of your two eyes views different vantage points in order to experience depth.
In order to accommodate these two vantage points, stereoscopic footage will contain left and right views. They can be stacked side-by-side or over-and-under each other, with the left view on top.

Step 2
Preview the VR Video Display
Now that VR editing is enabled in your sequence, the next step is to preview the clips on the monitor. There are two ways to view your video in 360:
-
Click the Settings icon (wrench) on the right side of the monitor or right click the monitor, then select
VR Video > Enable
-
Click the button editor (+) and click-and-drag the
Toggle VR Video Displaybutton to the toolbar for easy access! Button Editor (1) and Toggle VR Video Display button (2)
 -
Now that the VR Video Display mode is enabled, go into
VR Video > Settings.The Monitor View fields allow you to control what portion of the sphere you view—and simulate different viewing experiences—while in the VR Video Display mode. For example, 160 by 90 degrees simulates viewing within YouTube. Also note that these settings determine the aspect ratio of the view window. For example, 160 by 90 degrees presents a 16:9 view window.
Step 3
Edit Video and Set Center Point
Next you can edit your 360 footage as you would with regular footage. This includes slices, trims, transitions, color correction, adding images, audio, text, and more. Just keep in mind that text will anchor to a point on the footage; it does not track head movements and won’t automatically follow the viewer’s gaze. The text will be slightly distorted as it’s stretched to a spherical view. Also note that transformational effects like warp stabilizer will not work for 360 footage.

Another important consideration is the camera’s center point. Unlike a traditional camera, you have little control over where the viewer is looking. However, you can set the center point, or starting orientation, of the shot in order to draw attention to the subject. When you begin to cut together different shots, you don’t want users to twist their head to bring the subject back into view.
The easiest way to set the center point in Premiere is to use the Offset effect:
-
In the
Effectswindow, go toVideo Effects > Distort > Offset. -
Apply the
Offseteffect to your clip in the timeline. -
Select the clip in the timeline and open the
Effect Controlswindow. -
In the
Shift Center Tocontrol, drag the first number left or right in order to pan the clip horizontally. Don’t shift the second number, which violates the vertical position.
Also be aware that in Premiere, the viewer’s orientation is not reset to the center point between each shot. This means that if the viewer is looking at the back of the scene during the first shot, when it cuts to the second shot, the viewer will still be looking at the back, and may miss whatever you focused on the center.
Step 4
Export
To export your footage, select your timeline and hit Ctrl/Cmd+M or go to the menu File > Export > Media. This will pop up your export window. Once you select your desired codec, scroll to the bottom of the Video tab to make sure the Video Is VR checkbox is selected and the Frame Layout is correct.

Keep reading to learn more about publishing 360 video…